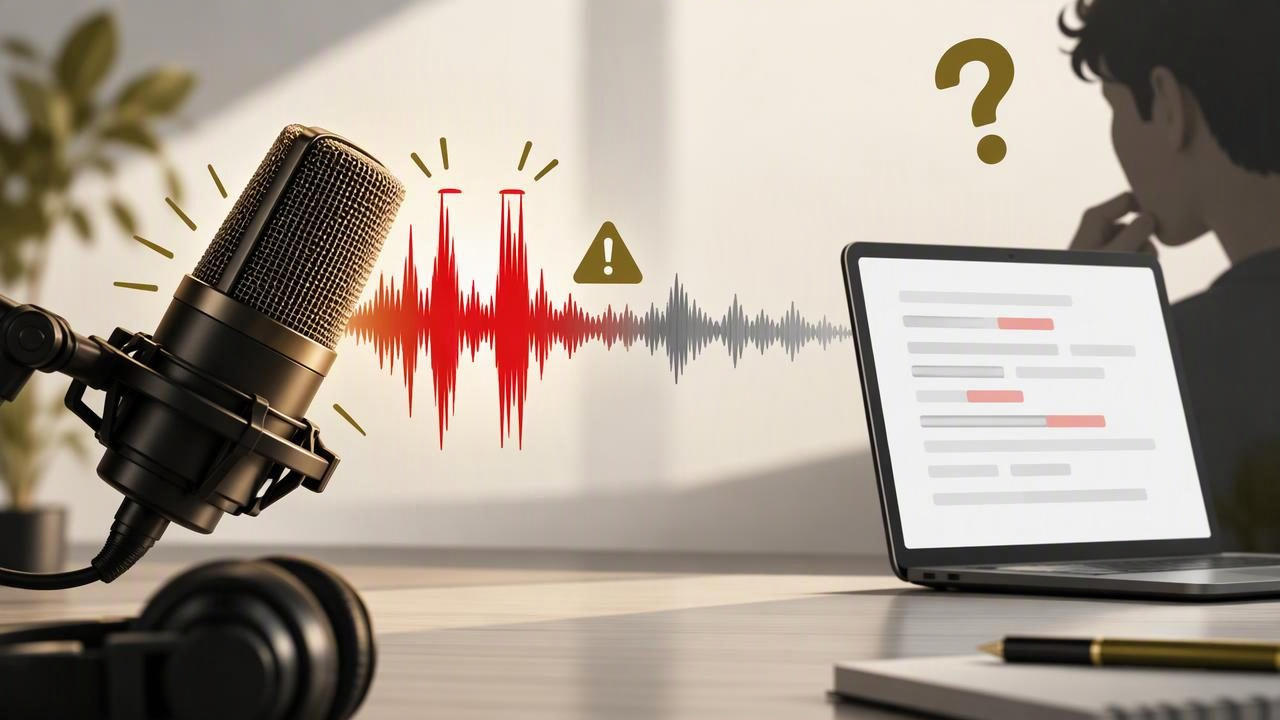
A voice transcription can turn a clear sentence into strange words, but the cause is not always the speech recognition system. If your microphone distorts loud syllables, the audio may already be damaged before transcription begins. That distortion is often called microphone clipping.
Recognizing clipping early helps you avoid changing language settings, repeating the same sentence, or replacing a transcription tool when the real problem is the sound reaching the microphone. Use the checks below to identify the difference and make a practical fix.
What microphone clipping sounds like
Clipping happens when an audio signal exceeds the level a microphone, preamp, or recording input can handle. The signal gets cut off instead of being captured smoothly. In a waveform, peaks may look flattened; to your ears, the sound can seem harsh, crackly, crunchy, or unexpectedly fuzzy.
It is most noticeable on loud or forceful sounds: a shouted word, a close “p” or “b,” a laugh, or a sudden emphasis. Normal speech may sound fine, while one stressed syllable turns ragged. Clipping can occur inside the microphone or elsewhere in the audio chain, so a volume slider is not always the whole story.
Clipping or a transcription mistake?
Listen to the recording itself before judging the transcript. The distinction is useful: transcription errors can happen with clean audio, but clipping is an audible problem in the captured sound.
| What you notice | More likely explanation | First check |
|---|---|---|
| Loud syllables crackle or sound flattened | Clipping or overload | Lower input level and move the mic slightly farther away |
| Words are smooth but the wrong word appears | Recognition, context, or pronunciation issue | Check language, names, and sentence context |
| Speech fades in and out or sounds distant | Position, connection, or noise suppression issue | Check the selected microphone and placement |
| Only some applications capture distorted sound | Different input or processing settings | Compare the selected input in each application |
These clues are not a diagnosis by themselves. A noisy room, aggressive noise processing, a loose connection, or an incorrect input device can create symptoms that resemble clipping. The simplest next step is to record a short sample and listen to it.
Run a quick microphone test
- Choose one recording app. Use a basic audio recorder available on your computer. Confirm it is set to the microphone you intend to use, not a laptop mic or another connected device.
- Record a normal sentence. Speak at your everyday volume from your usual position. Include a few words with plosive sounds, such as “please bring the blue box,” but do not shout.
- Record a second, slightly louder sentence. Keep your position steady and raise your voice only as you might during a real call or dictation.
- Listen with headphones. Pay attention to the loudest syllables. If the recording itself crackles, fuzzes, or breaks up at those moments, the issue exists before the transcript is generated.
- Change one thing and repeat. Lower the microphone input level or move it farther away. A useful test changes only one variable at a time, so you can tell what helped.
Do not rely only on the recording meter. A meter that repeatedly reaches its highest point is a warning, but a meter that looks safe does not rule out distortion inside the microphone or headset. Your ears and a repeatable comparison matter.
Fix the audio path in a sensible order
1. Lower the input level
In your operating system’s sound settings, select the correct input and reduce its input level if it is set unusually high. Record the same test again. Avoid compensating for a lower level by speaking right against the capsule: that can create plosives and overload even when the system slider is lower.
2. Adjust distance and angle
If you use a headset boom, keep it near your mouth but slightly to the side, rather than directly in front of your lips. For a desktop microphone, try a little more distance and aim it toward your voice. Make a small adjustment, then listen again. The goal is a consistent, comfortable voice—not maximum loudness.
3. Check application-level controls
Some audio or communication apps offer their own input gain, automatic level control, or noise processing. Those settings can differ from the system settings. If distortion appears only in one app, compare its selected microphone and processing options with the recorder test. Temporarily changing one processing option can help isolate the cause.
4. Inspect the connection
Reconnect a USB microphone or headset, try another port if available, and make sure a headset cable is fully seated. If you use an audio interface, check its input gain as well as the computer’s settings. A damaged cable or unstable connection more often causes crackles or dropouts than classic clipping, but it is worth ruling out.
Use a repeatable test, not a louder voice
When a transcript misses a word, people often speak louder and repeat the entire phrase. That can make clipping worse. Instead, keep your voice at a comfortable level and use the same short test phrase after each adjustment. Note the microphone, distance, and level that produced the cleanest result.
For example, imagine dictating: “Move the draft into the shared folder before Friday.” If “draft” sounds crackly in the recording, address the microphone level or placement first. If the audio is clean but the transcript changes “draft” to another word, try a clearer sentence or review the recognized text. Those are different problems and call for different fixes.
When the audio is clean but the words are still wrong
Once your test recording sounds clear, consider other causes. Background conversation, a fan, room echo, unfamiliar names, specialist terms, and rapid speech can all make words harder to distinguish. A transcription system may also misinterpret a phrase that lacks context. Try a short, complete sentence; pause briefly between ideas; and check the dictated text before sending or sharing it.
If you repeatedly use a person’s name, product label, or technical term, check whether your dictation application supports a custom vocabulary. This can help with recurring terms, but it will not repair distorted audio. Likewise, optional AI cleanup may improve the wording of text after transcription in some tools, but it cannot reliably reconstruct speech that was clipped at capture.
A practical pre-dictation checklist
- Confirm the intended microphone is selected.
- Make a short test recording at normal speaking volume.
- Listen for crackling or flattened loud syllables.
- Keep the microphone close enough for a clear voice, but not directly in the path of breath.
- Lower input gain if peaks distort, then repeat the same test.
- Check application-specific audio settings if the problem occurs in only one app.
- After the recording sounds clean, investigate wording, language, or vocabulary if errors continue.
This checklist is especially helpful after connecting a new headset, changing desks, or switching from a built-in microphone to an external one. A setup that worked in one position may behave differently when the mic is closer, the input changes, or the room is noisier.
Does clipping mean the transcription tool is broken?
Not necessarily. A transcription service can only work with the audio it receives. If the input is distorted, the system may have less useful speech information to interpret. But clean audio does not guarantee a perfect transcript: recognition can still make mistakes, particularly with context-dependent words or uncommon vocabulary.
Separate the two checks: first listen to the captured audio, then compare it with the text. If you use Dictámelo, the shortcut workflow is to hold the configured key combination, speak, and release to transcribe into the active text field. Its transcription uses a cloud provider and requires an internet connection. For setup details, see the Windows voice dictation guide; the product is available from the download page.
Make one adjustment at a time
The most reliable way to troubleshoot is to separate audio quality from text recognition. Record a brief sample, listen for distortion on loud syllables, and adjust microphone level, position, or connection before changing transcription settings. When the recording is clean but the words are not, move on to language, context, and vocabulary. That simple order helps you fix the source of the problem instead of chasing the wrong one.